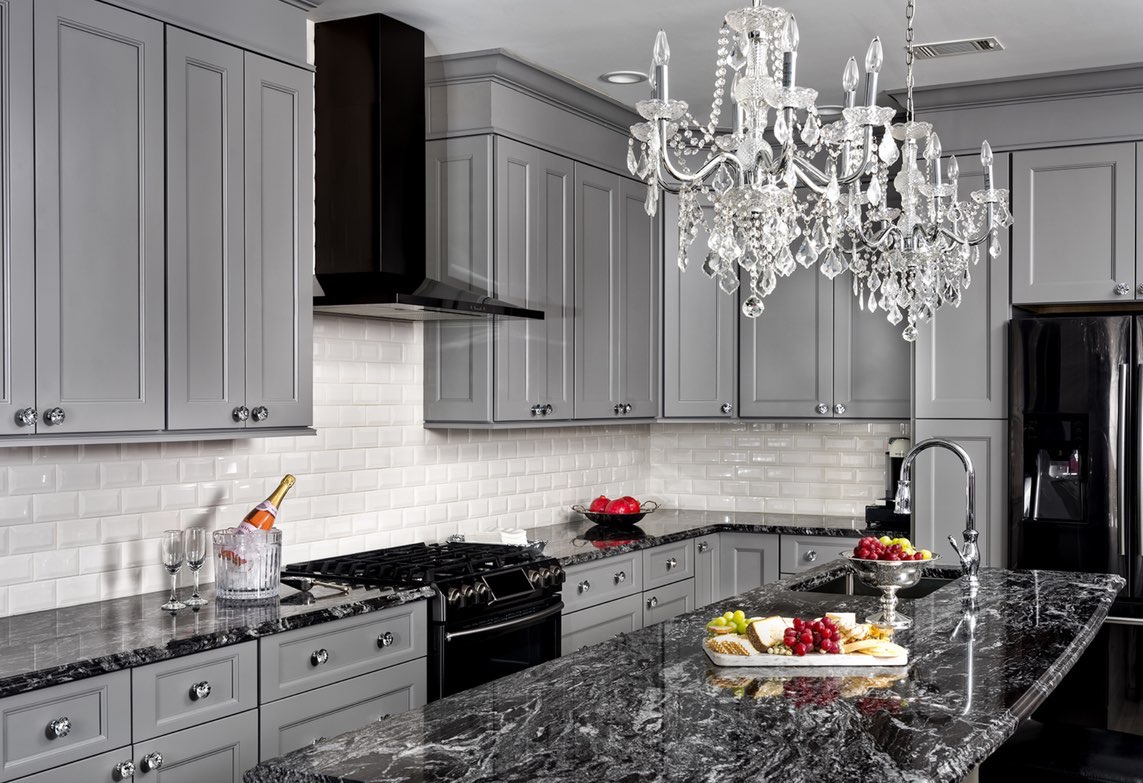
Some may think that installing kitchen cabinets is strictly a job or professional carpenters, but it’s actually quite easy to do a DIY cabinet installation nowadays. Below are some tips that’ll make your cabinet installation simpler. And if you’re looking for kitchen cabinets for sale in Mt. Laurel, you should visit our online store!
-
Mark up the Wall Space You Intend to Use
Beginning with a well-designed layout is essential. From the highest point of the floor to the top of the cabinet base, draw a line. From there, measure up 19 ½ inches and then draw another line; this line will indicate where the bottom of the upper cabinets will be. Label where wall cabinets and appliances will be, and then draw a vertical line along the edge of the first cabinet. Don’t forget to mark stud locations as these play an important role in the installation.
-
Position the Cabinets
The first cabinet should be positioned ¼ inch from the positioning line. Once it is, shim its base until the top is even with the horizontal line drawn. Next, level from front to back. Drive screws that are 2 ½ inches through the cabinet so it’s anchored into the wall studs.
-
Remove Cabinet Doors and Drawers
It’s wise to first remove cabinet doors and drawers before installing cabinets. Furthermore, it’s not good to have the doors and drawers attached while painting cabinets; few things are worse than hinges that are streaked with paint because of the sloppy cabinet-painting job. As is the case with most modern cabinets, removing doors and drawers is quite easy. If, however, you cannot remove the doors and drawers for painting, masking tape can be used to cover areas you don’t want coming into contact with paint.
-
Shim out Large Wall Bows
If there’s a large bow in the wall, this must be shimmed out before the cabinet can be installed. Failing to remove a bow may cause the back of the cabinet to be pulled off while fastening. Use a level to slide-shim the wall from bottom to top.
-
Install Upper Cabinets First
Installing upper cabinets first is ideal as this prevents the awkward installation that comes with installing base cabinets first. Rest upper cabinets on a ledger board to ensure they’re straight and aligned; doing this will also eliminate the frustration that comes with having to hold cabinets in place while screws are driven in. After upper cabinets have been installed, you can move to the lower cabinets.
-
Clamping, Drilling, and Fastening
When connecting cabinets together, one should first line up the face frames before clamping them together. If both cabinets are fastened to the wall, you may have to loosen one of the cabinets to get the frames lined up. Keep in mind that hand-screw clamps don’t usually flex well, which means they’ll grip tighter. Use the less-noticeable cabinet when screwing in connecting screws. Perfect alignments may take some time to achieve.
Remember that kitchensearch.com should be your one-stop shop if you’re looking for kitchen cabinets for sale in Mt. Laurel!


