Why Measuring Your Countertops Accurately Matters
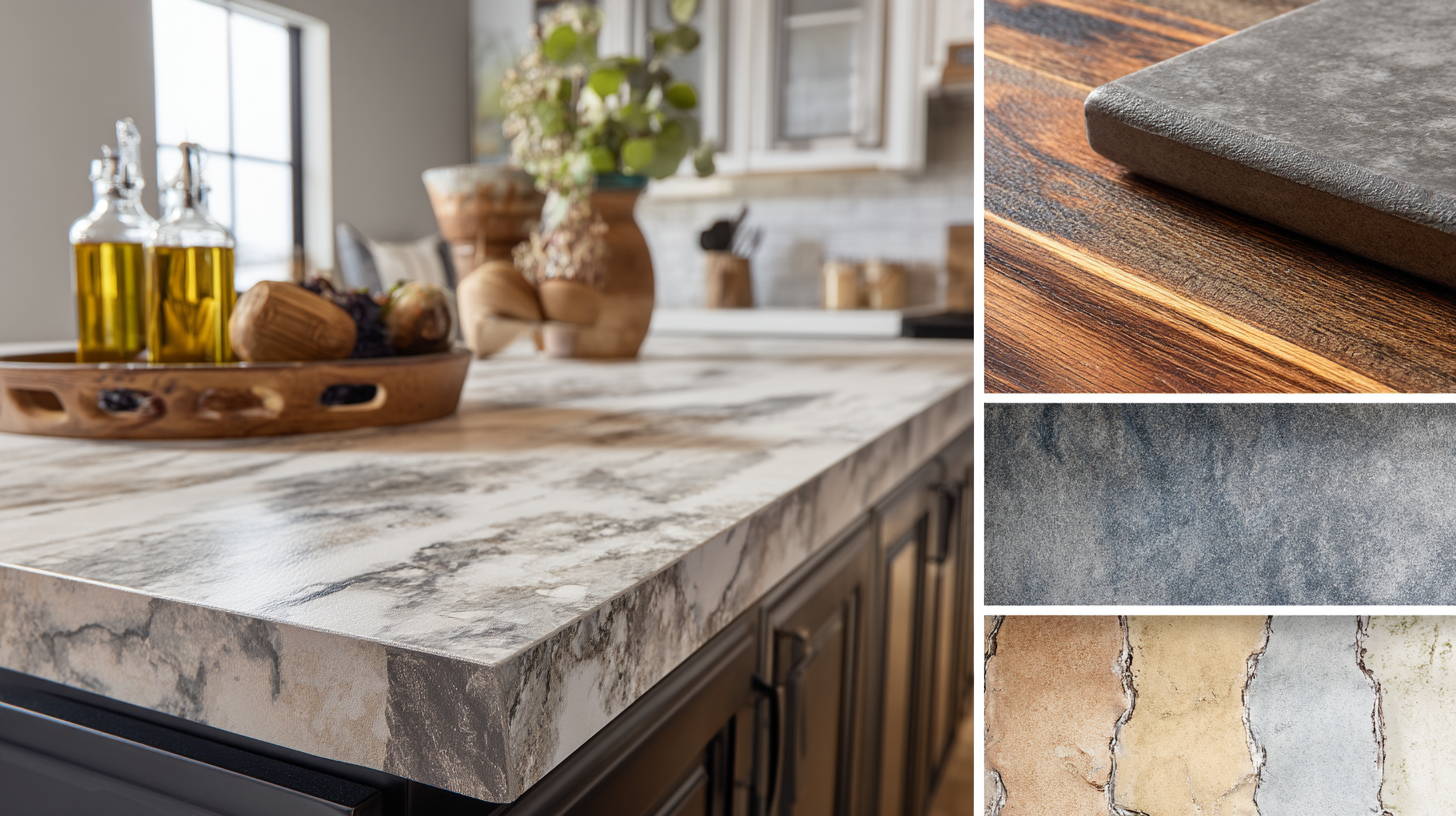 If you’re planning to replace your existing countertops with new countertops, getting accurate measurements is the first and most critical step in the remodeling process. Whether you’re choosing quartz countertops, solid surface, or marble, your entire kitchen project depends on precise dimensions and a clear understanding of the total square footage involved. At Kitchen Search, we help homeowners confidently measure their kitchen countertops so they can get a realistic estimate, avoid costly mistakes, and ensure a perfect installation from start to finish.
When you measure your countertops correctly, it allows our design team to:
- Provide a reliable price estimate
- Order the right slabs or materials
- Account for cutouts like your sink, cooktop, or backsplash
- Reduce fabrication time and installation delays
Even if you plan to have our professionals template your space, your own measurements can help you make better decisions, get quotes faster, and move your project forward with confidence.
Tools You Need to Measure Countertops Like a Pro
To get started, gather the right tools. You don’t need fancy equipment, just a few basics you probably already have at home.
- Tape measure (preferably 25 ft or longer)
- Pencil and pen for labeling
- Notepad or graph paper for drawing your sketch
- Calculator to determine square footage
- Smartphone camera to take pictures of your layout
- Optional: level, straight edge, or even cardboard to trace unusual edges
These tools will help you measure everything from length and width to cutouts, corners, overhangs, and even backsplash height. Having a handy table or chart to record your measurements can make the process easier and more organized.
Step-by-Step: How to Measure Countertops
 Step 1: Sketch the Layout of Your Kitchen
Start by drawing a diagram of your kitchen or workspace from a top-down perspective. This doesn’t have to be a perfect blueprint, just a simple sketch that maps out all the countertop areas.
Label all the sections (like A, B, C) so your notes stay organized. Include the location of walls, cabinets, appliances, islands, and any other features that affect countertop shape.
Helpful tip: Use your smartphone camera to snap a picture of your sketch so you can easily share it with our design team later.
Step 2: Measure the Length and Width of Each Countertop Section
Using your tape measure, record the length (from one wall to the other or the end of the cabinet run) and the width (from the wall to the front of the countertop). Standard kitchen countertops are typically 25.5 inches deep, but custom builds vary.
Make sure to measure all visible surfaces, including:
- Straight runs
- Inside corners
- Islands
- Breakfast bars
- Peninsulas
Always measure twice to confirm your dimensions. If you find that your countertop extends beyond standard sizes, be sure to include those extra lengths in your measurements.
Step 3: Calculate the Square Footage of Your Countertops
Now it’s time to calculate the square footage of each section.
- Multiply the length × width (in inches) for each section.
- Add all square-inch totals together.
- Divide by 144 to convert to square feet.
Example:
- Section A: 72 in × 25.5 in = 1,836 in²
- Section B: 60 in × 25.5 in = 1,530 in²
- Total square inches = 3,366
- Total square footage = 3,366 ÷ 144 = 23.4 sq. ft.
Add an extra 5–10% buffer to your total square footage to account for fabrication cuts, seams, and possible adjustments.
Need help with your math? Our team can assist you in double-checking your numbers during your free consultation.
Step 4: Mark Cutouts for Sinks, Cooktops, and Other Fixtures
One of the most important parts of countertop measurement is planning for cutouts. These include areas for:
- Your sink (undermount, drop-in, or farmhouse)
- Cooktops
- Soap dispensers
- Electrical outlets
- Faucets or pop-up units
Use your tape measure to mark the centerline of each cutout, and measure from the nearest wall or edge. This ensures our fabricators cut the slabs correctly, especially if you’re installing quartz or marble where exact cuts matter.
Step 5: Account for Overhangs and Exposed Edges
Most countertops have a standard overhang of 1 to 1.5 inches beyond the cabinet front. But some areas, such as a breakfast bar, might require more, up to 12 inches or more for seating.
Don’t forget to measure:
- All exposed edges that need finishing
- Special features like mitered corners or waterfall sides
- Height if you’re planning multi-level surfaces
If you’re unsure how to measure an overhang or custom edge, our team can walk you through it or measure it during your in-home visit.
Step 6: Measure Backsplash Areas
If your kitchen design includes a backsplash, measure each section separately. Most standard backsplashes are 4 inches high, but you may prefer full-height options that go all the way to the upper cabinets.
Measure:
- The length of each wall where the backsplash will be installed
- The height of the backsplash
- Any side returns or end panels
You’ll need to add these numbers into your final estimate if you’re ordering backsplash with your countertops.
Step 7: Note Irregular Walls or Unusual Shapes
Kitchens aren’t always perfectly square. Use the 3-4-5 rule to test whether corners are 90 degrees. If your wall is bowed or angled, or your countertop includes curves, it’s helpful to:
- Create a cardboard template
- Take a photo with your camera
- Note the deviation on your sketch
These details are critical for fabrication, especially with solid surface, marble, or quartz countertops where precise measurements are key.
Avoid These Common Countertop Measurement Mistakes
 If this is your first time measuring for countertops, be cautious of the most common errors:
- Measuring just the visible surface instead of full dimensions
- Forgetting to account for overhangs
- Mislabeling or skipping cutouts
- Not converting inches to square feet
- Ignoring irregular wall angles or unique edges
- Missing backsplash measurements
Avoiding these mistakes keeps your project on time and on budget.
What Happens After You Measure?
Once you’ve completed your measurements, you’re ready to:
- Share your sketch, pictures, and notes with our design team
- Choose your preferred countertop material like quartz, solid surface, or marble
- Finalize your design features like edges, backsplash, and cutouts
- Schedule your professional template appointment
At Kitchen Search, we send a trained specialist to your location for digital templating using advanced technology. This ensures the final template reflects all your existing space conditions and results in accurate measurements for fabrication.
Helpful Tips to Get the Most Accurate Results
- Double-check every measurement with your tape measure
- Use a level or straight edge for backsplash or wall alignment
- Bring your sketch to the showroom if you plan to compare materials or styles
- Label everything clearly and include details about your sink, appliances, and cabinets
- Use a smartphone camera to take wide shots and close-ups of complex areas
- It’s always a good idea to have a second person help you measure — two people working together can find and confirm dimensions more accurately and efficiently.
Why Accurate Countertop Measurement Pays Off
When your measurements are right the first time, you:
- Avoid delays in installation
- Prevent costs associated with extra material or rework
- Reduce the chance of poor fit
- Stay within budget
- Make better decisions about material size and price
Especially for natural stone like marble or man-made quartz, an incorrect cut could ruin an entire slab. That’s why accurate, upfront measuring is essential to protect your investment.
Still Not Sure How to Measure? We’ve Got You Covered
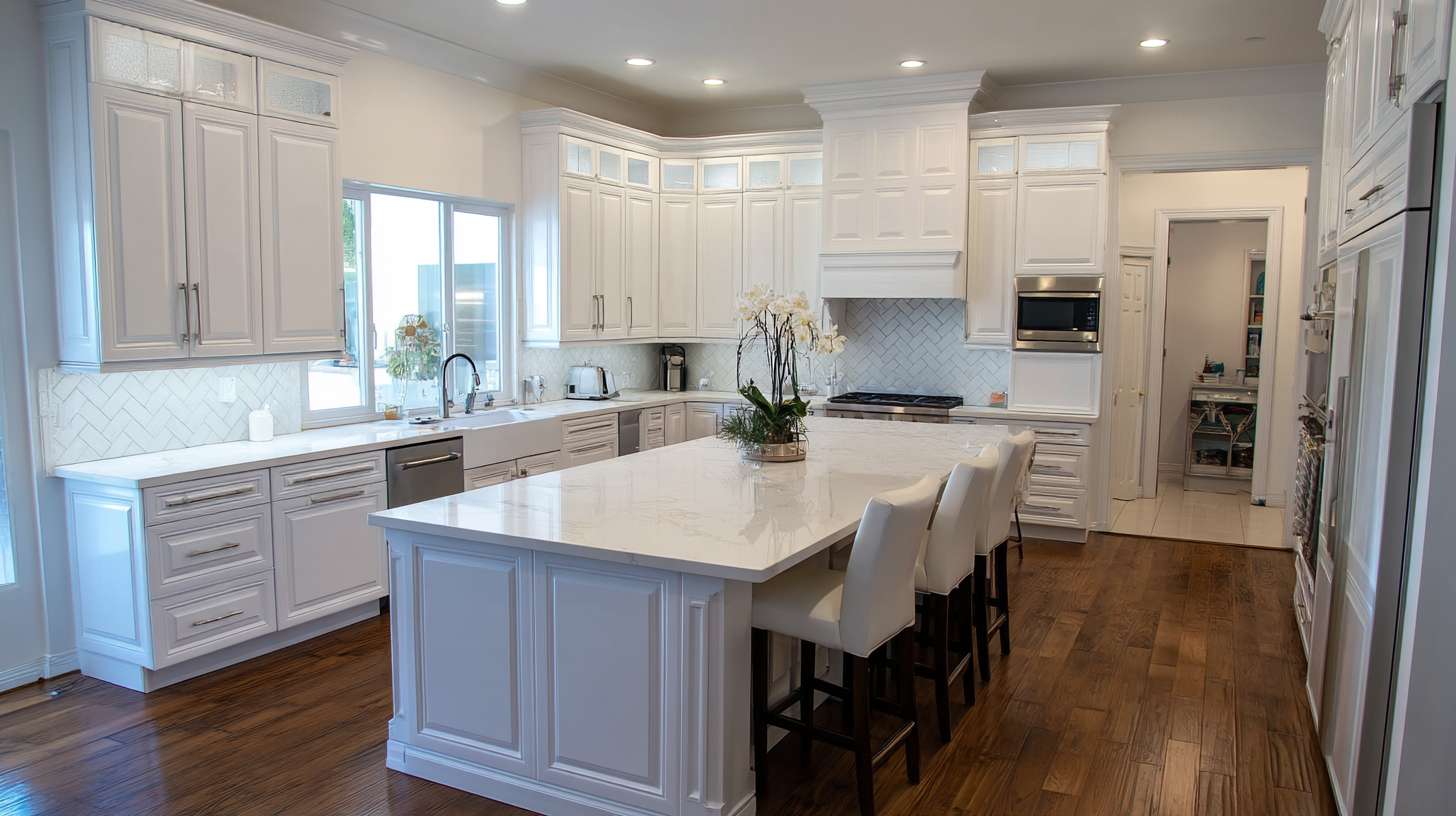 Measuring your kitchen countertops doesn’t have to feel overwhelming. At Kitchen Search, we make it simple with:
- Free in-home consultations
- Digital templating for accurate measurements
- Custom design guidance for kitchen, bath, and more
- Professional installation across multiple locations including Pennsylvania, New Jersey, New York, and surrounding areas
Our team brings decades of experience to help homeowners like you get beautifully crafted countertops that fit perfectly, look stunning, and last for years to come.
FAQs About Measuring Countertops
Can I measure countertops if I haven’t removed the old ones?
Yes, just measure from wall to cabinet edge as if the old counters aren’t there. Our team will still verify everything with a final template.
How do I estimate the cost of new countertops?
Take your total square footage and multiply it by the price per square foot of your selected material. Include backsplash, edges, and cutouts in your estimate.
Do I need to measure the height of the backsplash?
Yes, especially for full-height backsplash designs or custom kitchen layouts.
How do I measure for a breakfast bar or island?
Measure the length, width, and desired overhang for each side. If seating is included, add 10 to 12 inches for comfort.
Do I need to include sink and cooktop cutouts in my measurements?
Yes, mark them clearly on your sketch so we can plan for fabrication. Include length, width, and position relative to walls or cabinet edges.
Final Thoughts: Measure Once, Order with Confidence
Getting the right measurements for your countertops is the foundation of a smooth, stress-free remodeling experience. Whether you’re upgrading to quartz, marble, or solid surface, it all starts with the right numbers, the right tools, and the right partner.
Ready to get started? Kitchen Search is here to help with expert guidance, premium materials, and professional installation. Contact us today to book your free in-home consultation and bring your vision to life.


 Step 1: Sketch the Layout of Your Kitchen


